The Infrastructure page offers a powerful suite of tools for efficiently managing Azure resources within your project. It serves as a centralized platform where you can monitor and manage all your resources, ensuring seamless operations and optimized configurations.
Whether you're ensuring compliance, addressing potential issues, or optimizing resource usage, the Infrastructure page provides you with the necessary tools to maintain control and drive success in your Azure environment.
Getting Started
⚠ Important: To manage resources within the project, the user you are signed in with must have at least the Developer role assigned. For detailed instructions on how to manage project roles, please refer to the Access control article.
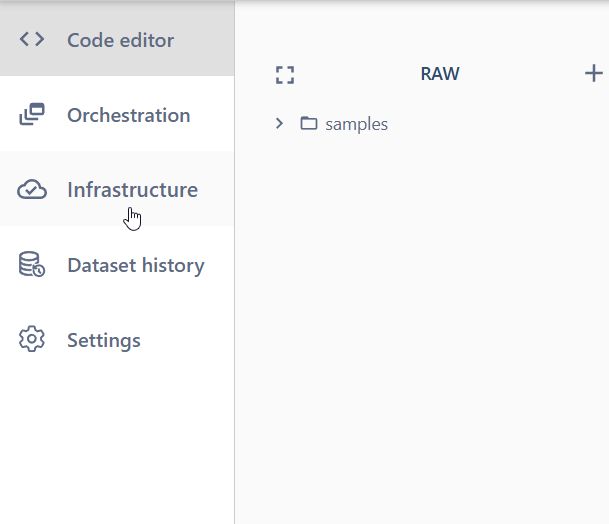
Once your project resources are created (for a detailed guide on creating resources, please refer to the Creating resources article) and your project is open, managing the infrastructure becomes straightforward. Simply navigate to the Infrastructure section by clicking on it in the sidebar on the left side of the page.
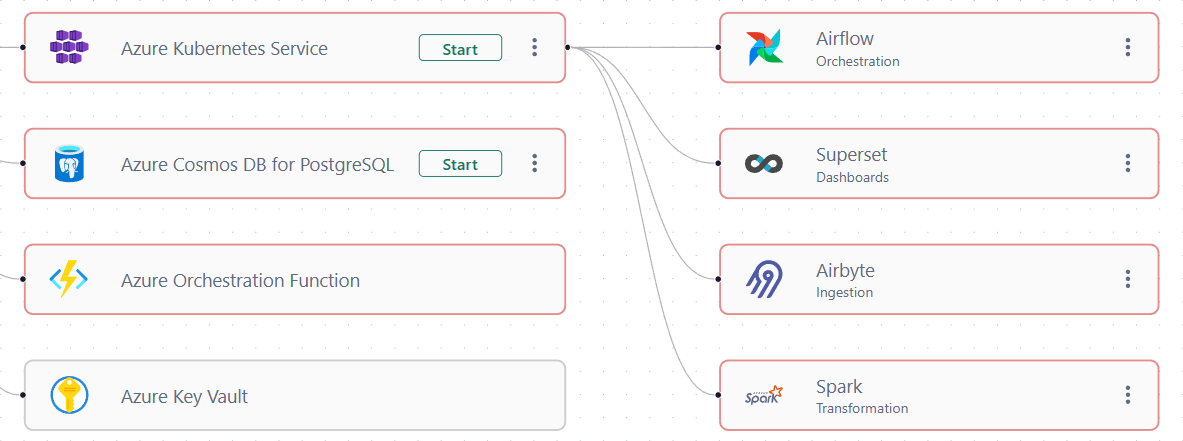
The Infrastructure page visually represents the structure and relationships of your project resources in the form of a Directed Acyclic Graph (DAG). Each node in this diagram corresponds to a resource or service, providing a clear and organized view of how your resources are interconnected.
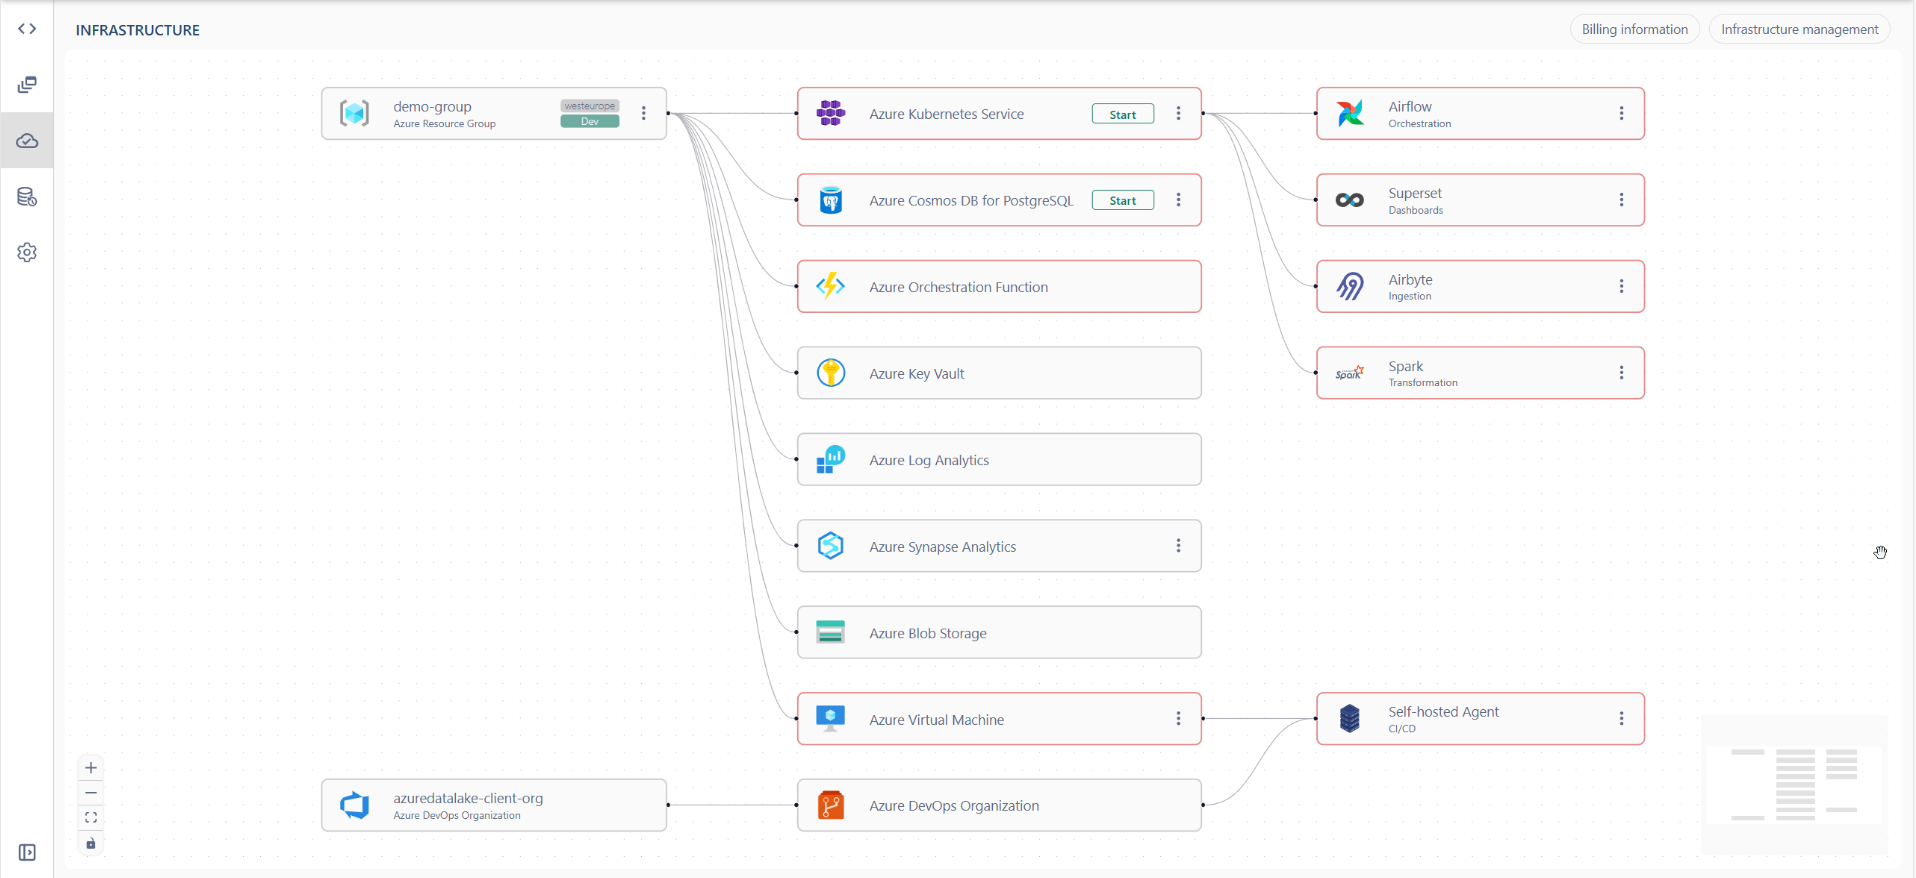
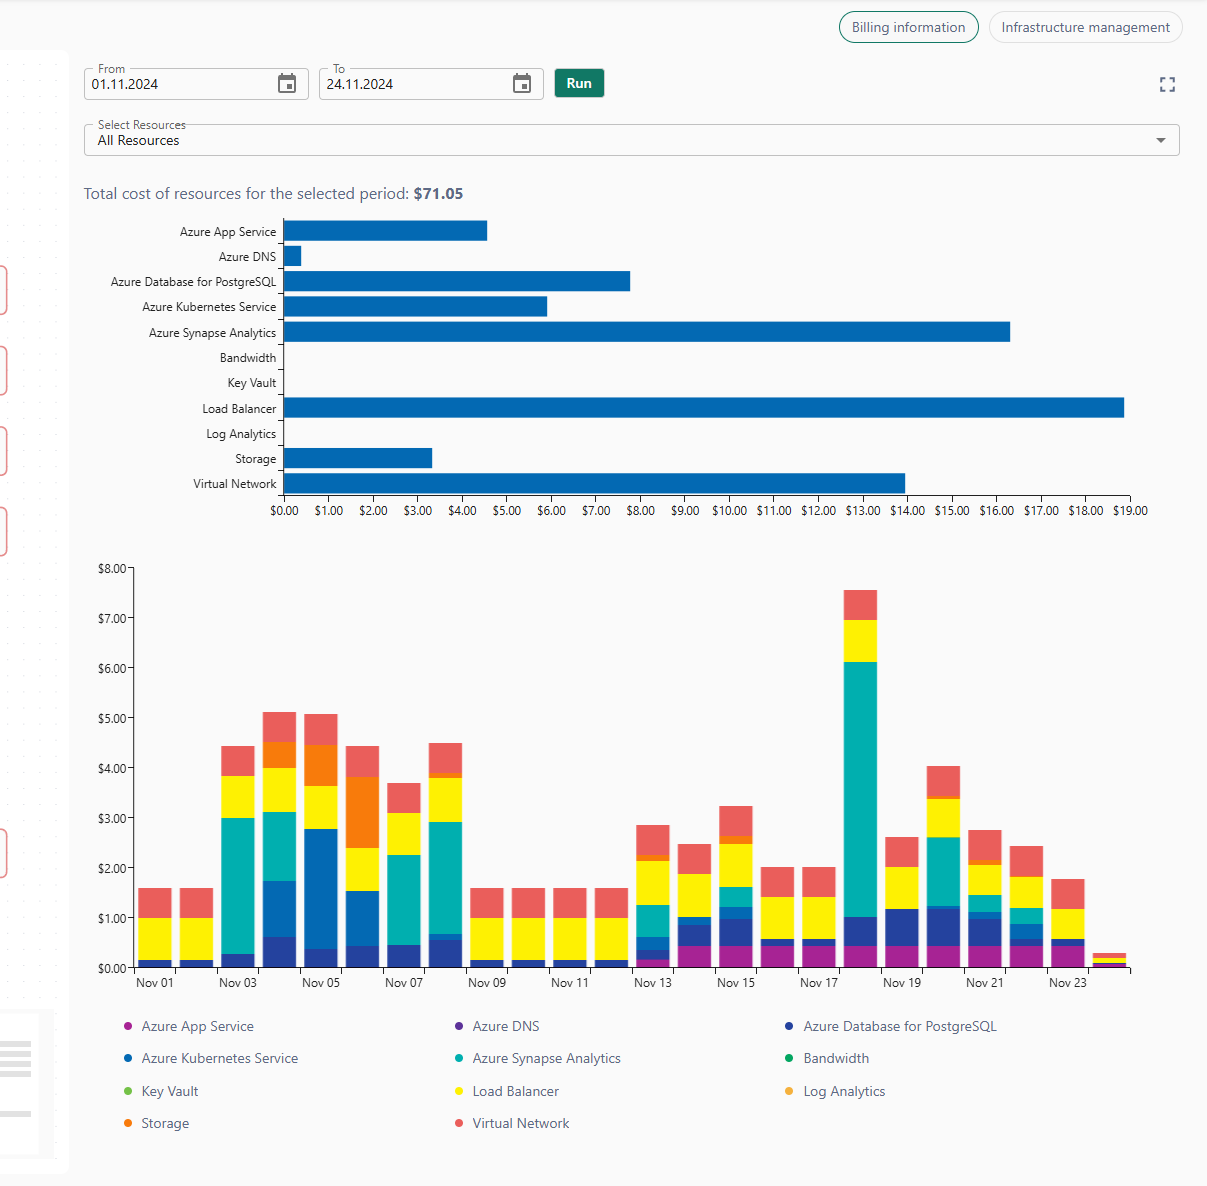
At the top right, you'll find a pane with two tabs: Billing Information and Infrastructure Management.
The Billing Information tab provides interactive dashboards that display the costs associated with each service. You can filter reports by time and service, offering detailed insights into your usage and expenditures. Simply set up your desired filters and click the Run button to generate the report.
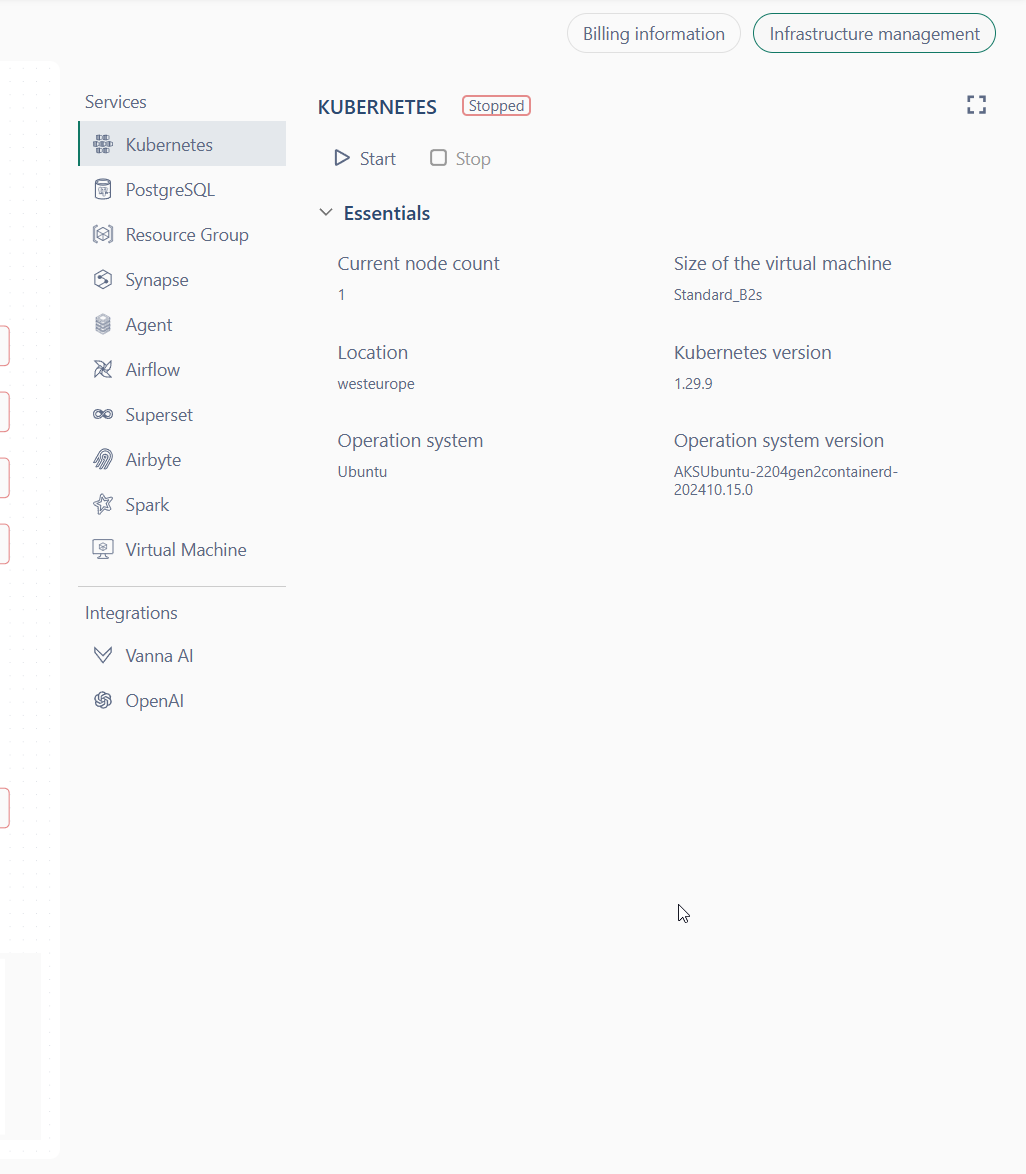
The Infrastructure Management tab allows you to view essential details about services and resources and manage them directly. On the left side of the tab, in the Services section, you'll find a list of all services that can be managed or described within the project. The Integrations section provides the ability to manage integrations with AI Assistants (for more information, refer to the AI assistants article).
Service Management
You can manage the power state of services directly from the DAG. To quickly start or stop a service, simply click the button in the node of the corresponding service.

⚠ Important: Not all services can be power-managed. This capability depends on the specific service configuration and its integration within the project.
Running services may have the following statuses:
- Stopped: The service isn’t running.
- Starting: The service is currently starting.
- Stopping: The service is in the process of stopping.
- Running: The service is actively running.
- Failed: Something went wrong and the service couldn’t start properly.
You can also use the context menu to view additional available actions for the service. Click on the service node more button to access the menu and explore further management options.

If you click Manage, the Infrastructure Management tab will open for the corresponding service or resource, allowing you to access and configure its specific settings.
Resource Group
The Resource Group node can be found in the DAG, representing the resource group within your project. In this node, you can view the location where the resource group is created, as well as the currently displayed environment.

Kubernetes Services Management
By default, a Kubernetes cluster comes with four pre-installed services that are automatically started when the cluster starts:
- Airflow: A platform for programmatically authoring, scheduling, and monitoring workflows.
- Superset: A data visualization and business intelligence tool.
- Airbyte: An open-source data integration platform for syncing data from various sources.
- Spark: A unified analytics engine for big data processing.
Each service has its own user interface (UI), which can be accessed by the Open UI action. However, before you can access the UI, you must first download the credentials using the Download Credentials action. These credentials are required to authorize yourself in the external control pane of the service.
⚠ Important: While the Kubernetes service is not running, you will not be able to view its essential details and access its UI.

